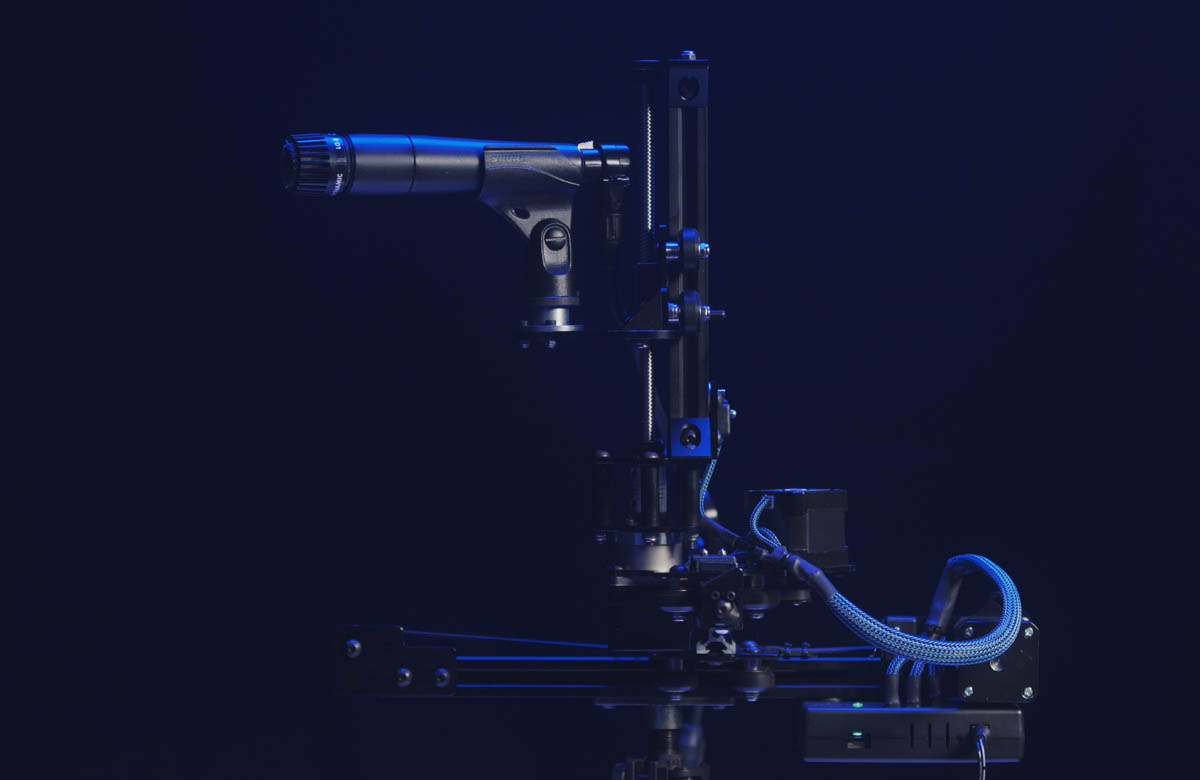
Z-Axis Support
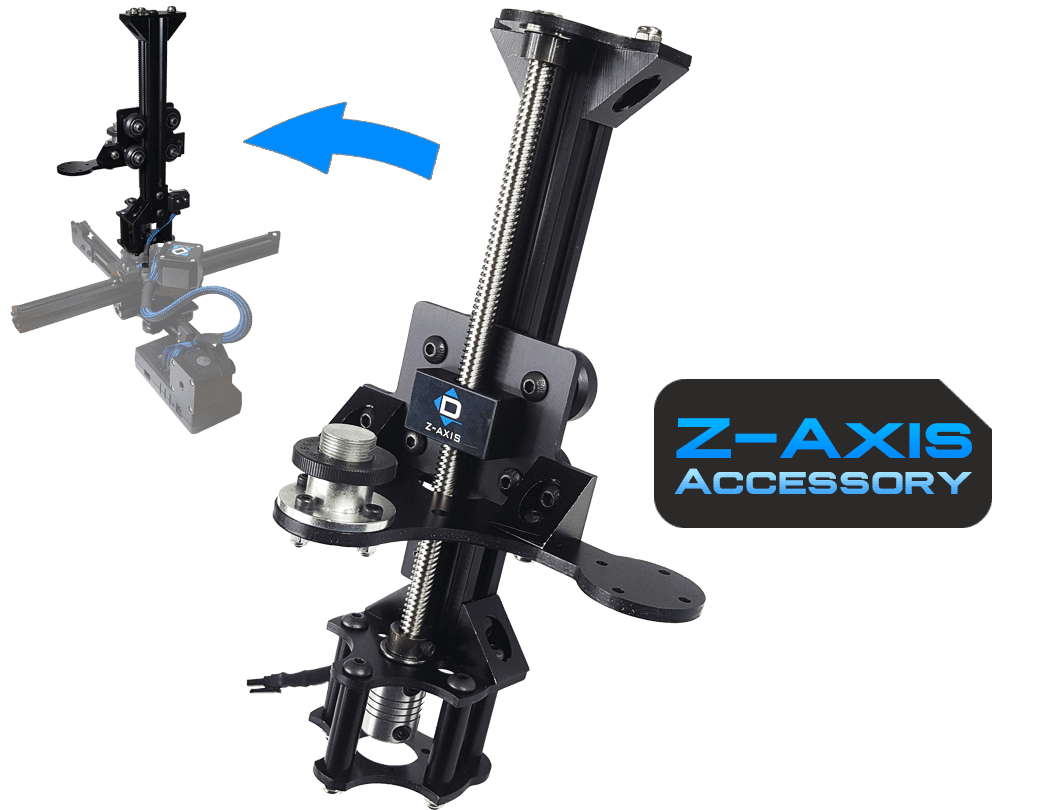
Please follow these instructions to install a Z-Axis™ vertical motion accessory onto any compatible model (X2-R, X2-R Micro, or V2-R). To remove the accessory from a unit, simply follow these instructions in reverse order.
(Assembly video coming soon!)
NOTE! Save all parts/screws removed from your DynaMount during the installation, in case you would like to change the setup back sometime later.
Installation Instructions
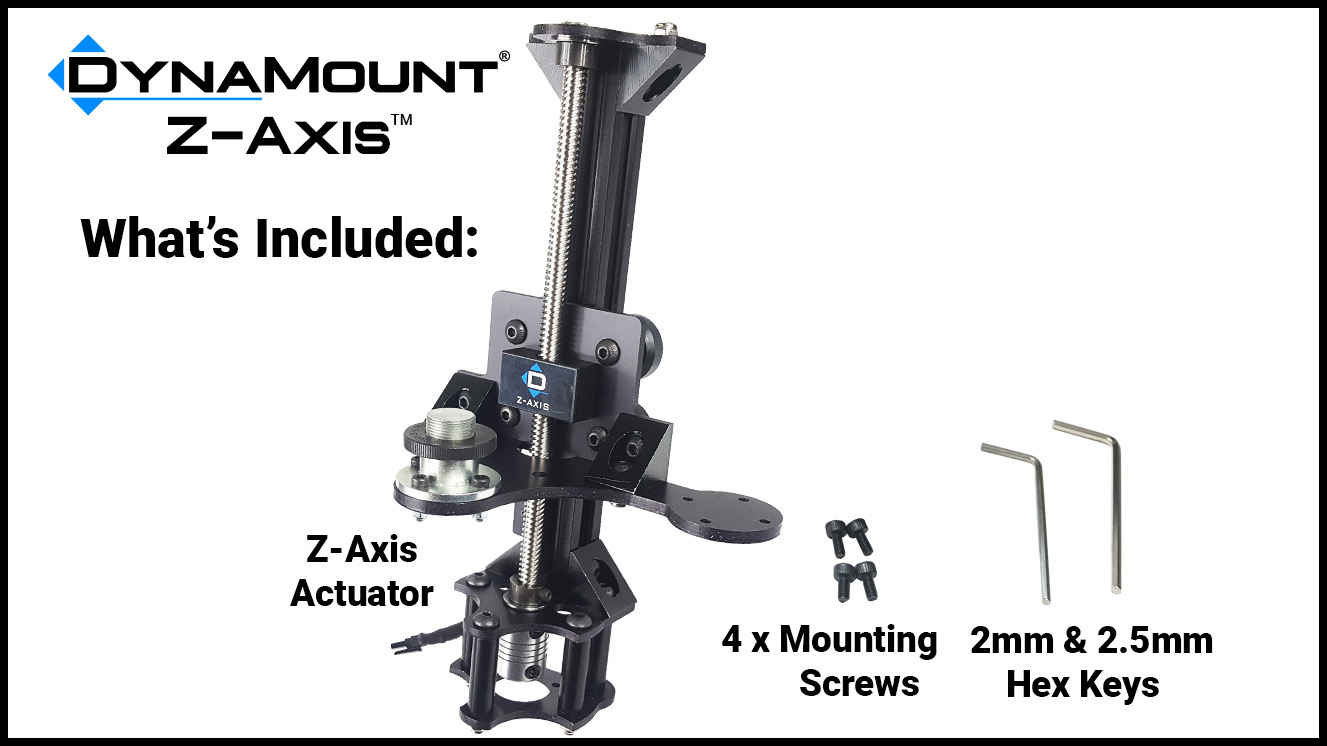
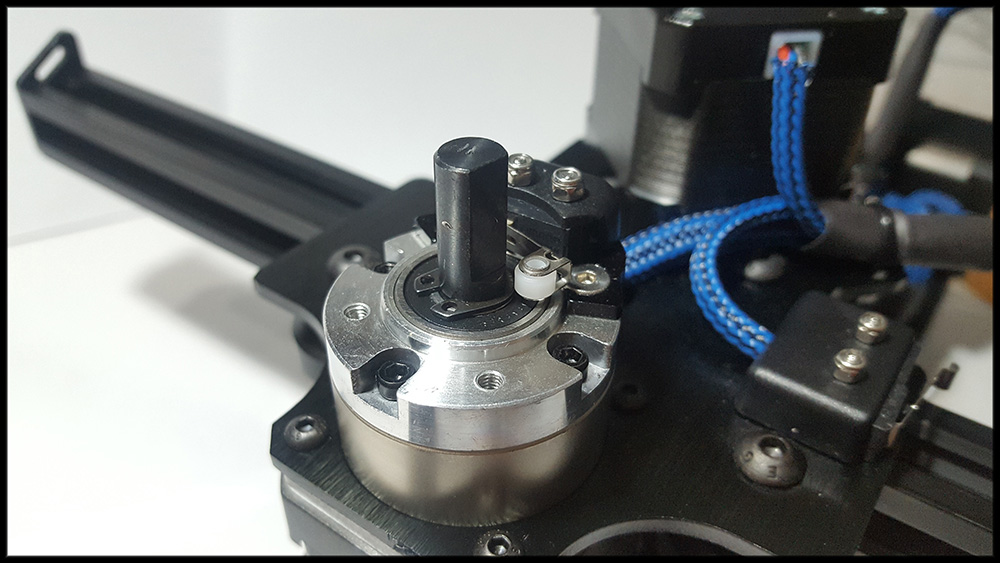
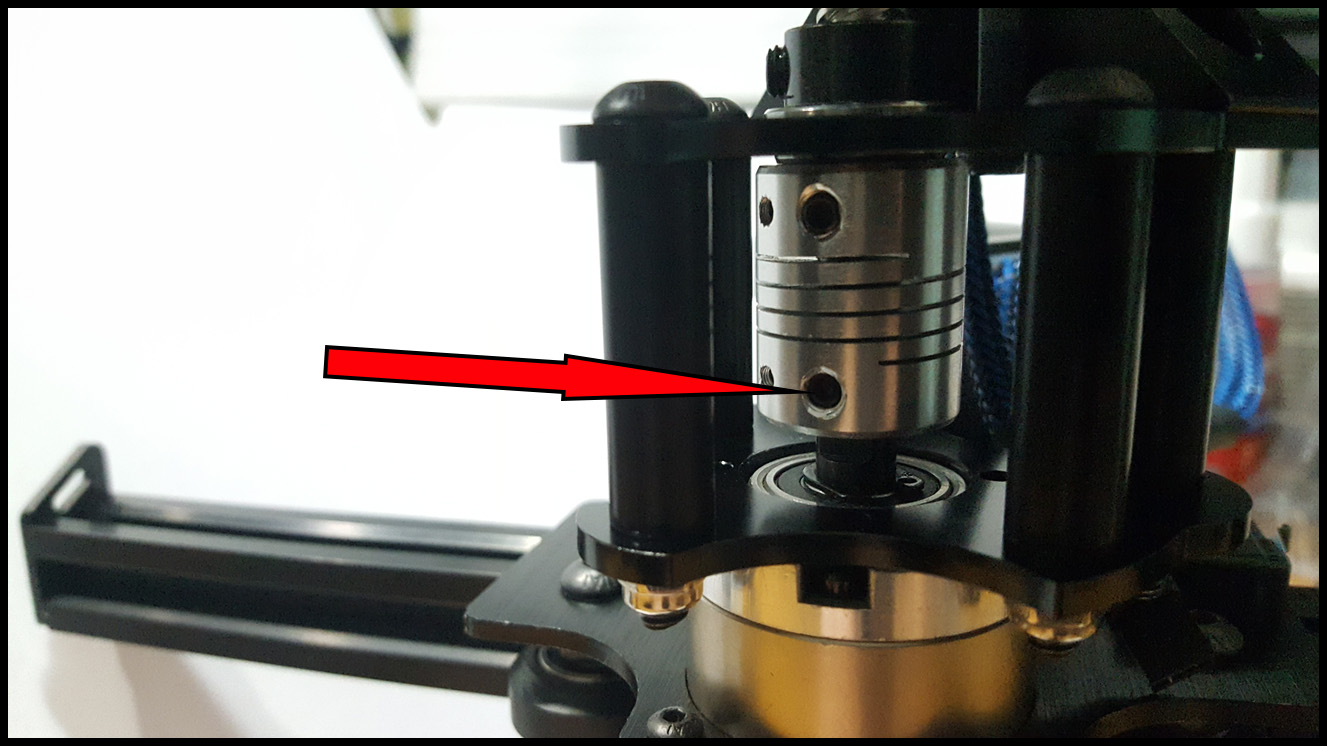
- Loosen the two set screws on the Threaded Hub (rotate the screws counter-clockwise) using the 2mm Hex Key
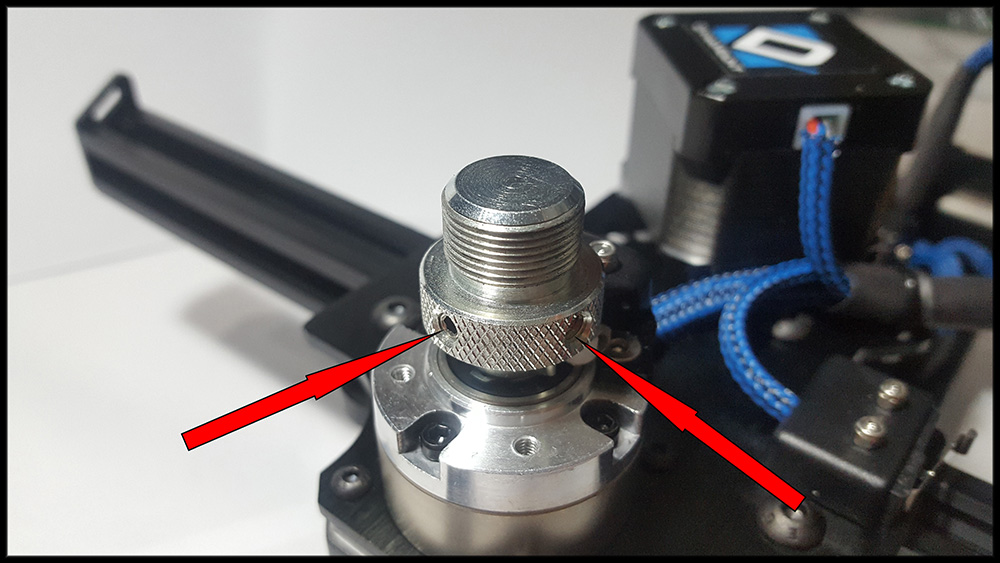
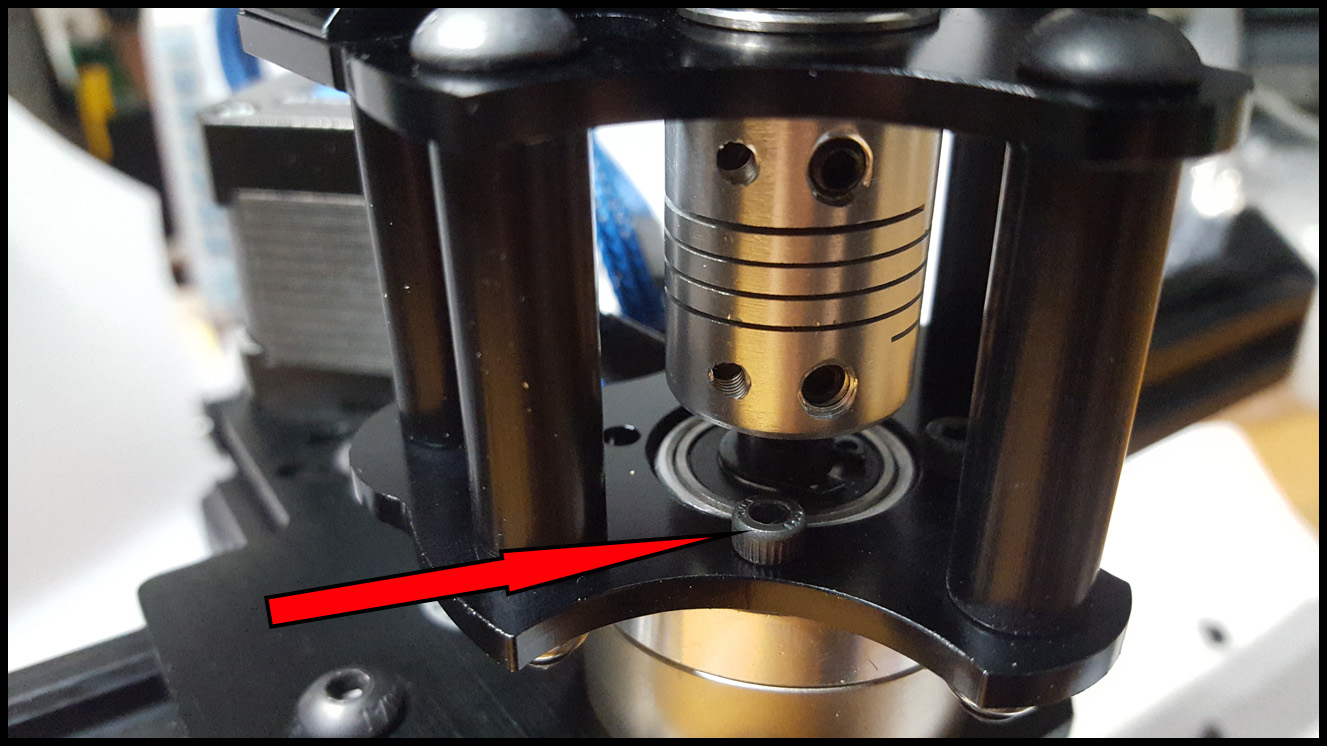
- Remove the Threaded Hub (use a small flat screwdriver to pry it up if the hub feels stuck or hard to remove)
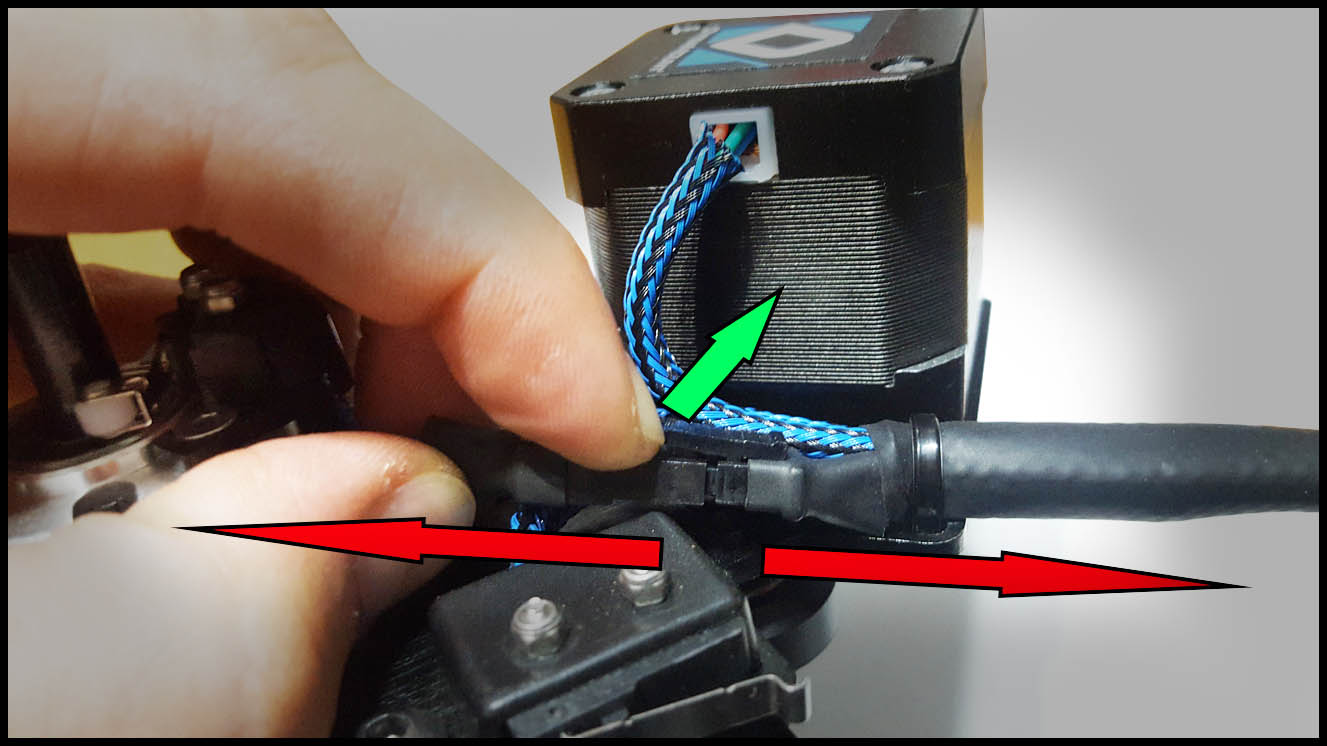
- Carefully lift the plastic tab to unlock, while pulling the limit switch connectors apart to disconnect them
- Remove the two flat-head screws holding the rotation switch in place (CAUTION: These screws can strip easily)
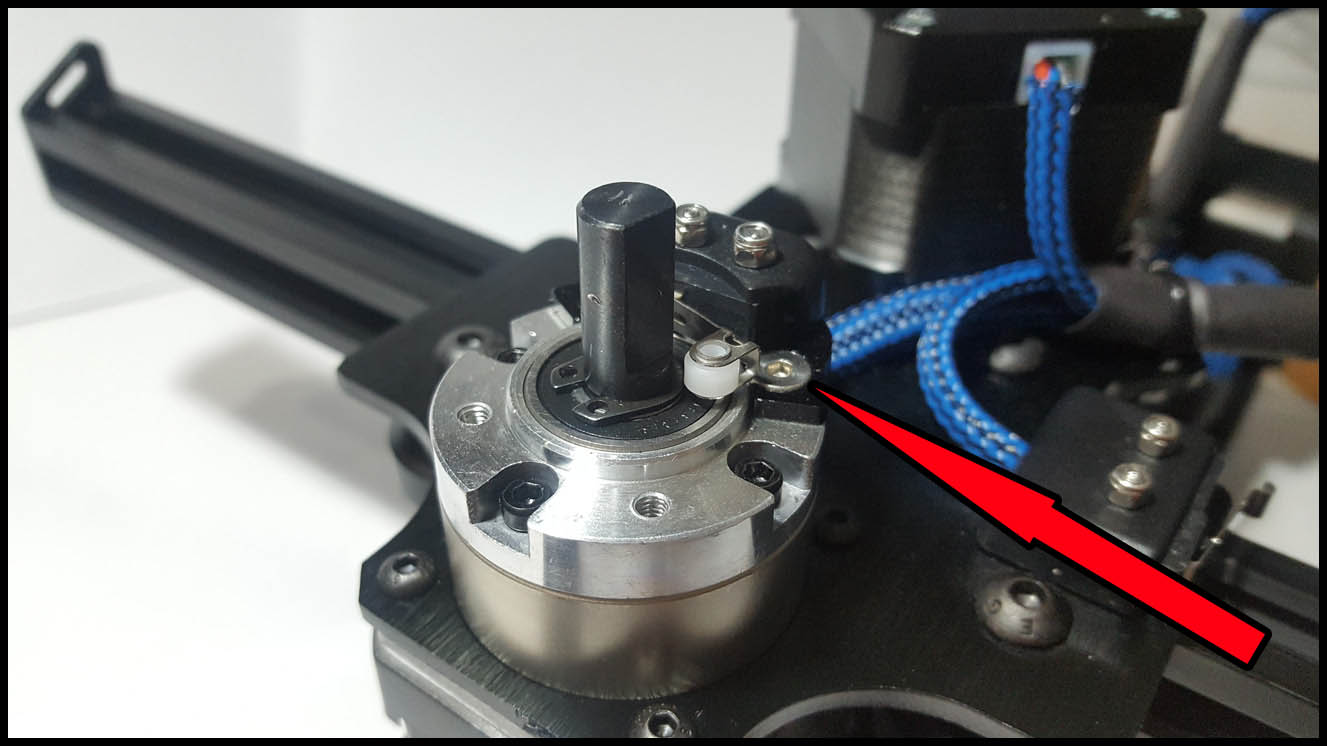
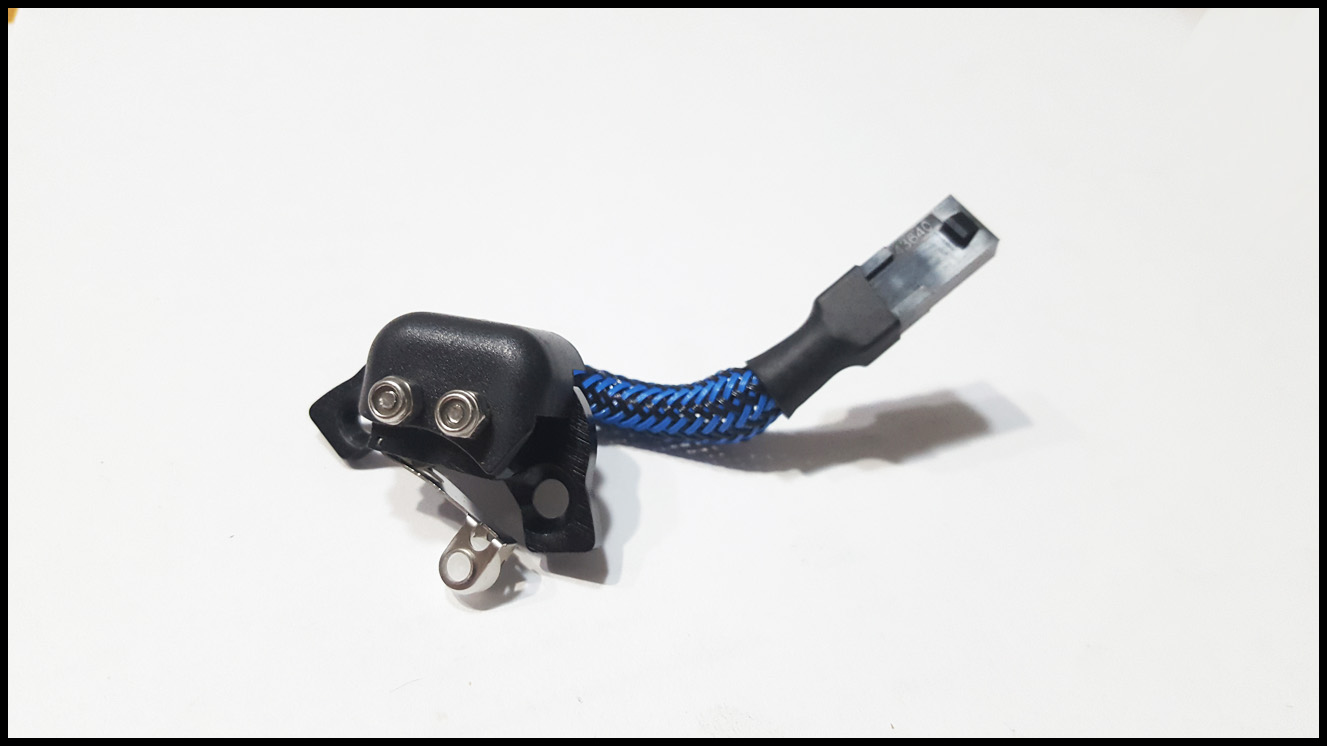
- The rotation limit switch should now be completely removed
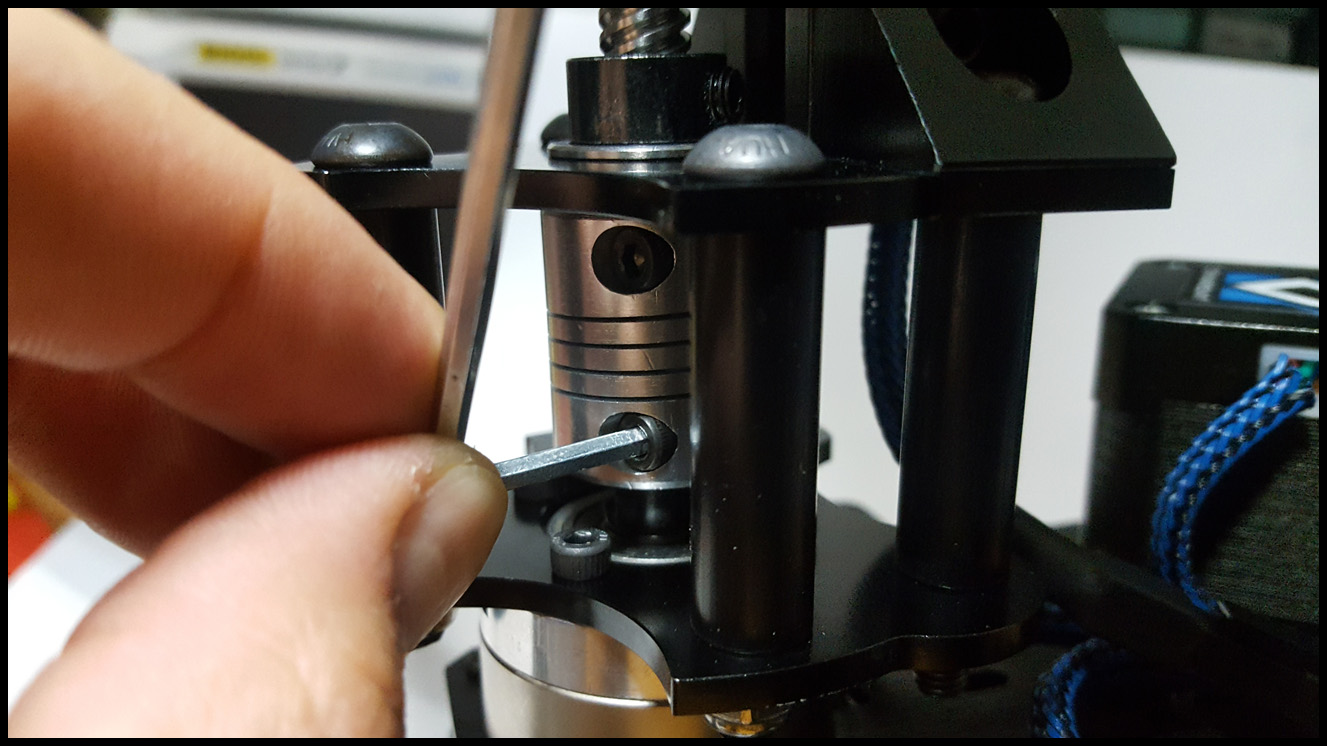
- Position the Z-Axis, lining up the smaller set screw on the coupler with the flat portion on the motor shaft

- Press it all the way down (until the bottom plate is flush against the motor), then tighten the first set screw onto the flat of the shaft using the 2mm hex key
- Insert and tighten the four socket head screws (it may be easiest to tighten mostly by hand, before using the hex key)
- For the two hardest to reach screws, pass the hex key through the hole in the plate to reach
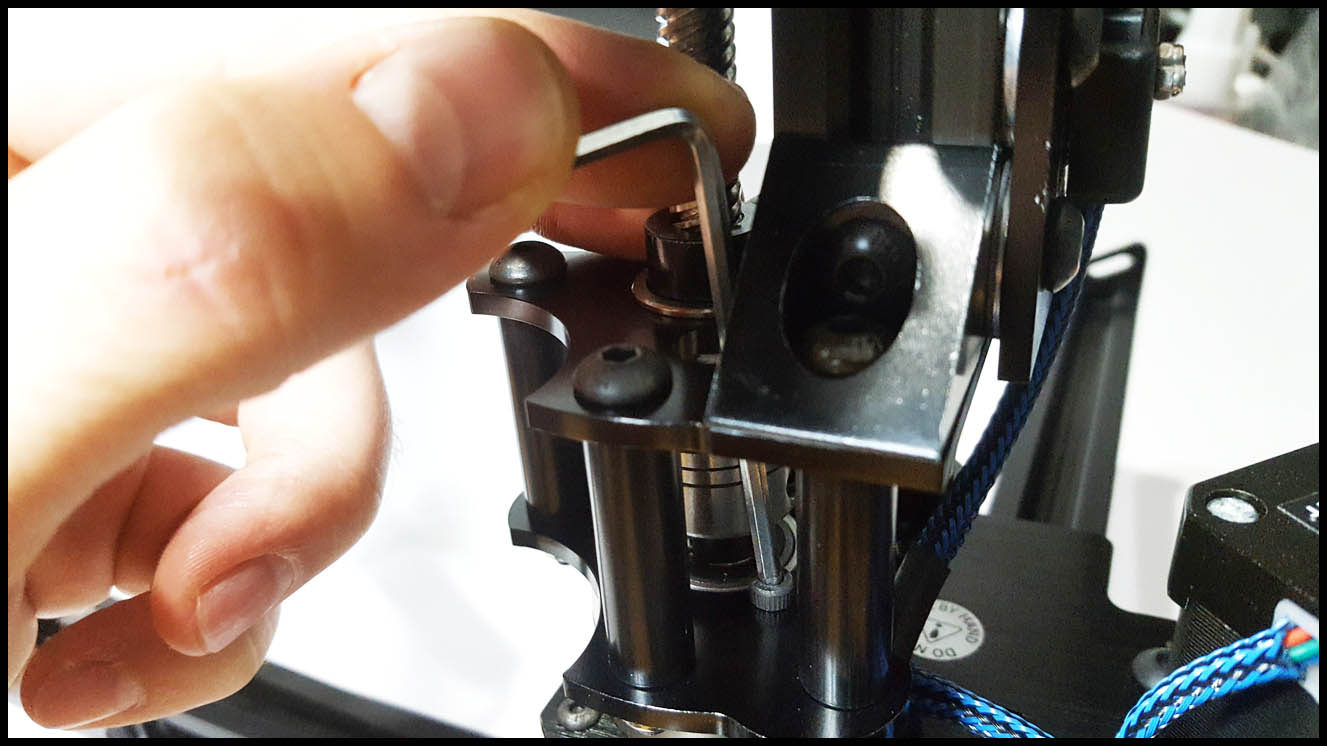
- Now fully tighten the other larger shaft coupler set screw, using the 2.5mm hex key
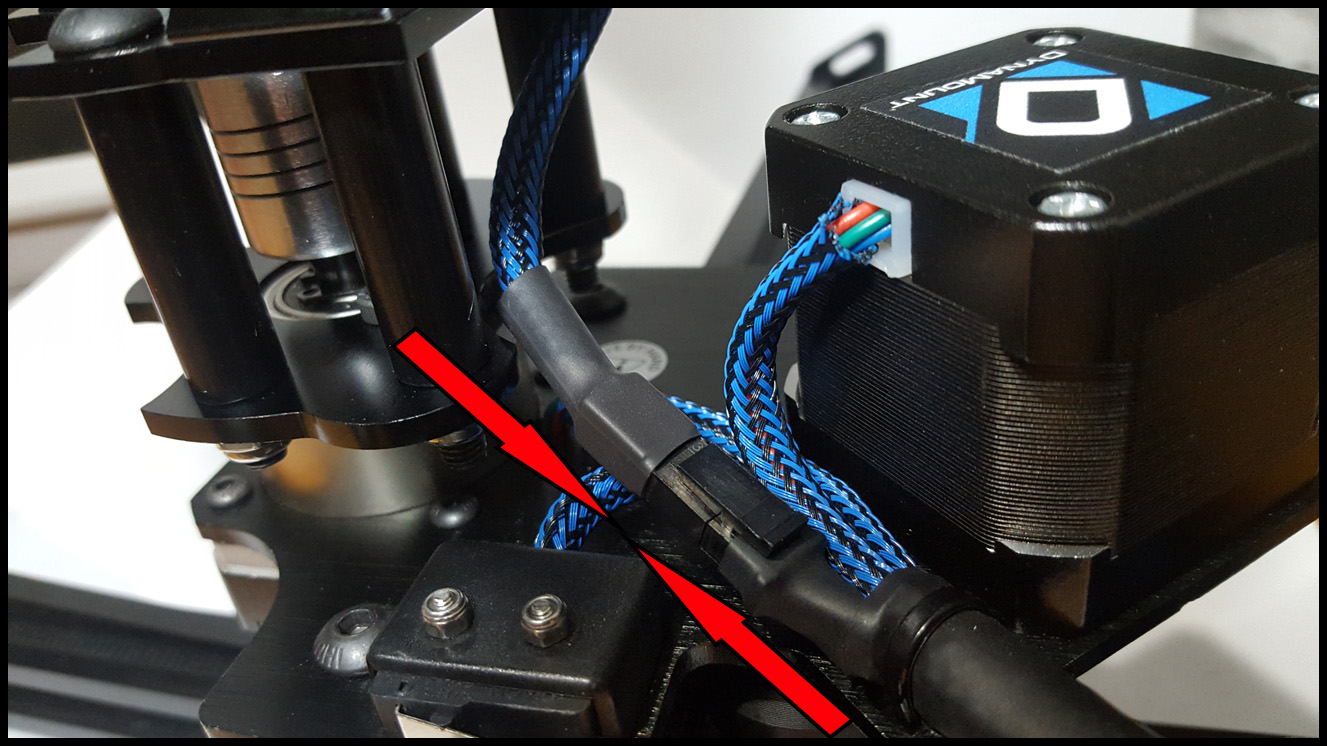
- Plug in the Z-Axis switch connector, pressing firmly until the latch activates and the connector is fully inserted
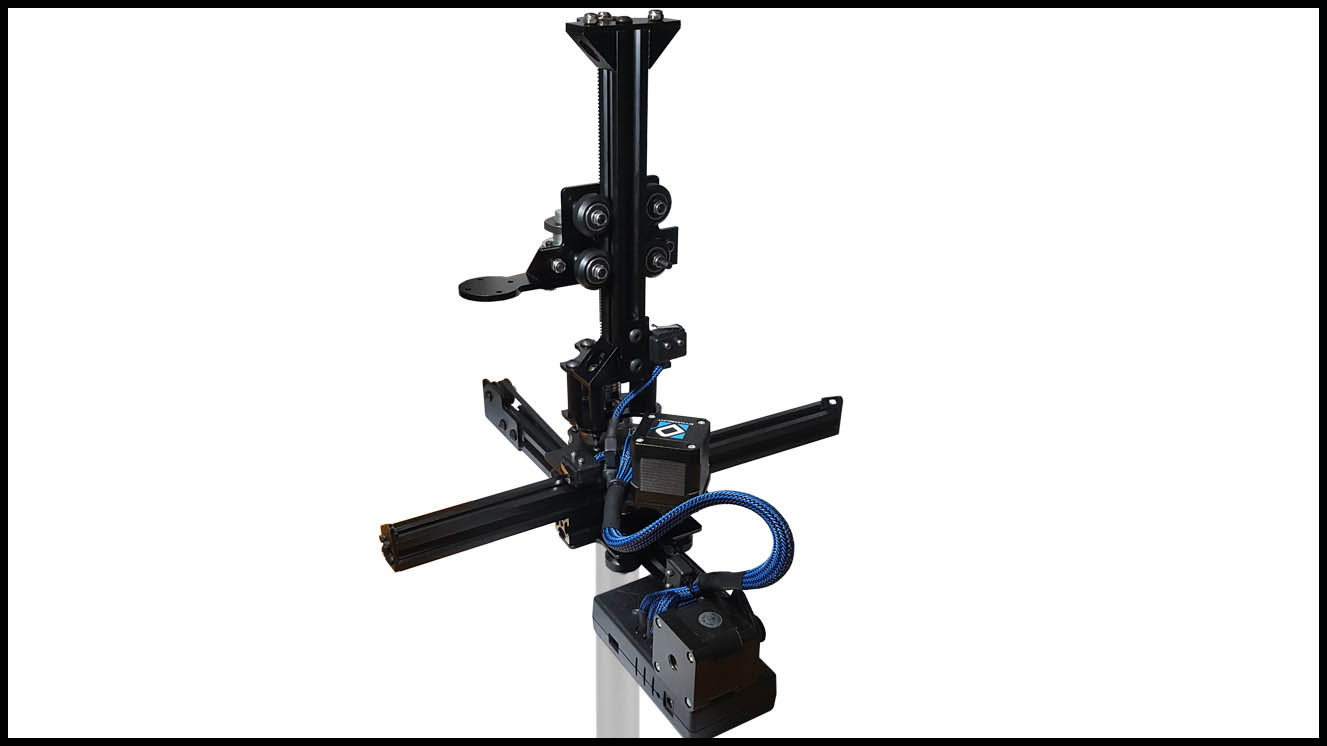
- Attach the DynaMount to a sturdy stand, then power up the unit and open the DynaMount app
- WARNING! A heavy duty stand is highly recommended. It is your responsibility to ensure it does not tip over while in use. If you have a high-quality boom stand, mounting the entire DynaMount upside-down is a good option to consider as well.
- Once the unit has been discovered in the app, click on its button in the “Gen2 Devices” list to connect with it
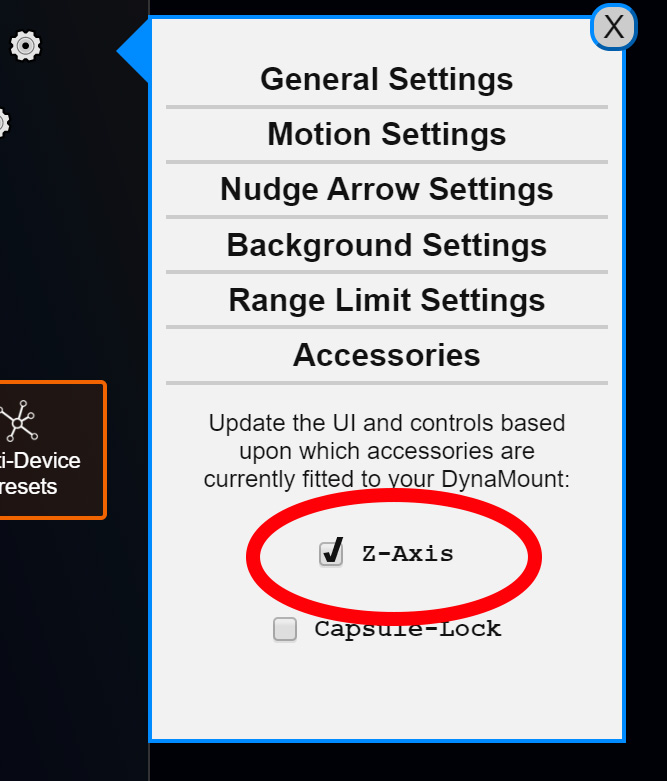
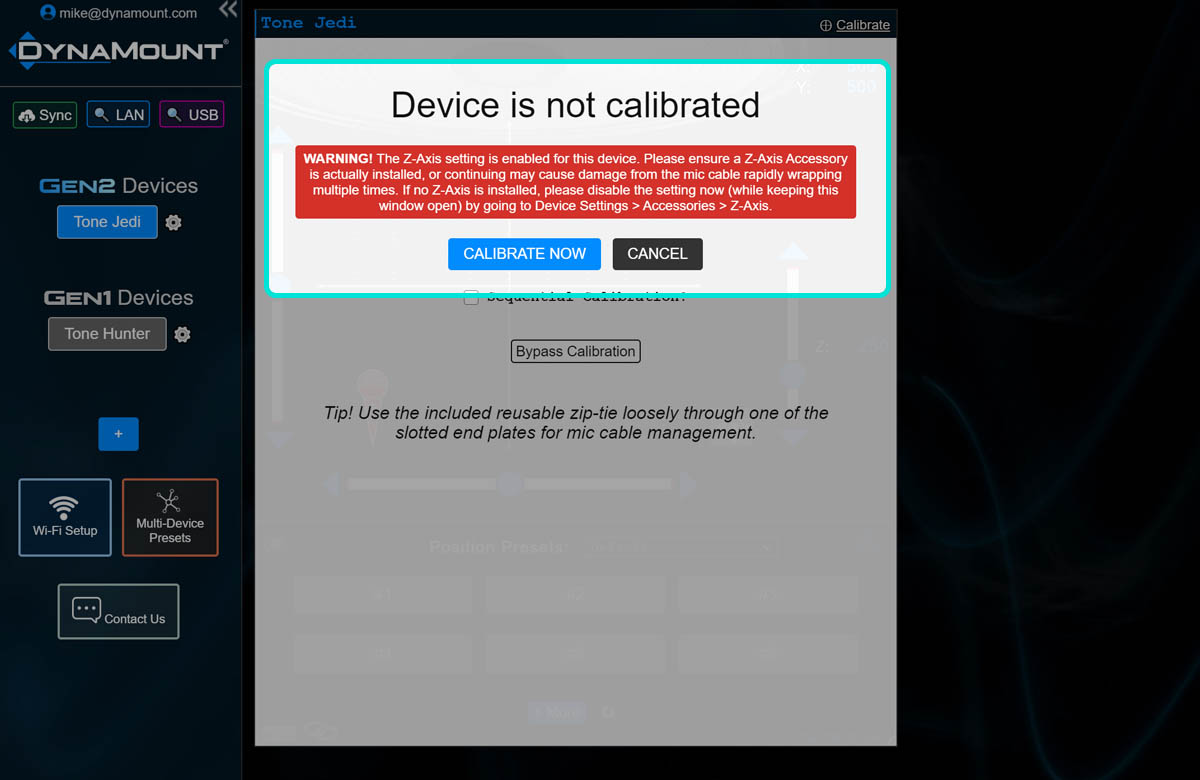
- IMPORTANT! A screen will prompt that the device is not calibrated. BEFORE clicking the button to calibrate, you MUST FIRST go to Device Settings (gear icon) > Accessories > then toggle the “Z-Axis” checkbox
- Note: when you toggle the Z-Axis setting the control window will close, but this is okay and expected
- Tip! If you also go to Device Settings > Motion Settings > and set the “Slider Speed” setting above 90%, this will give an extra speed boost to the Z-Axis
- Click the device button under “Gen2 Devices” again, to re-open the control window
- This time, a warning will be visible confirming that the Z-Axis is installed. Go ahead and click “Calibrate Now”
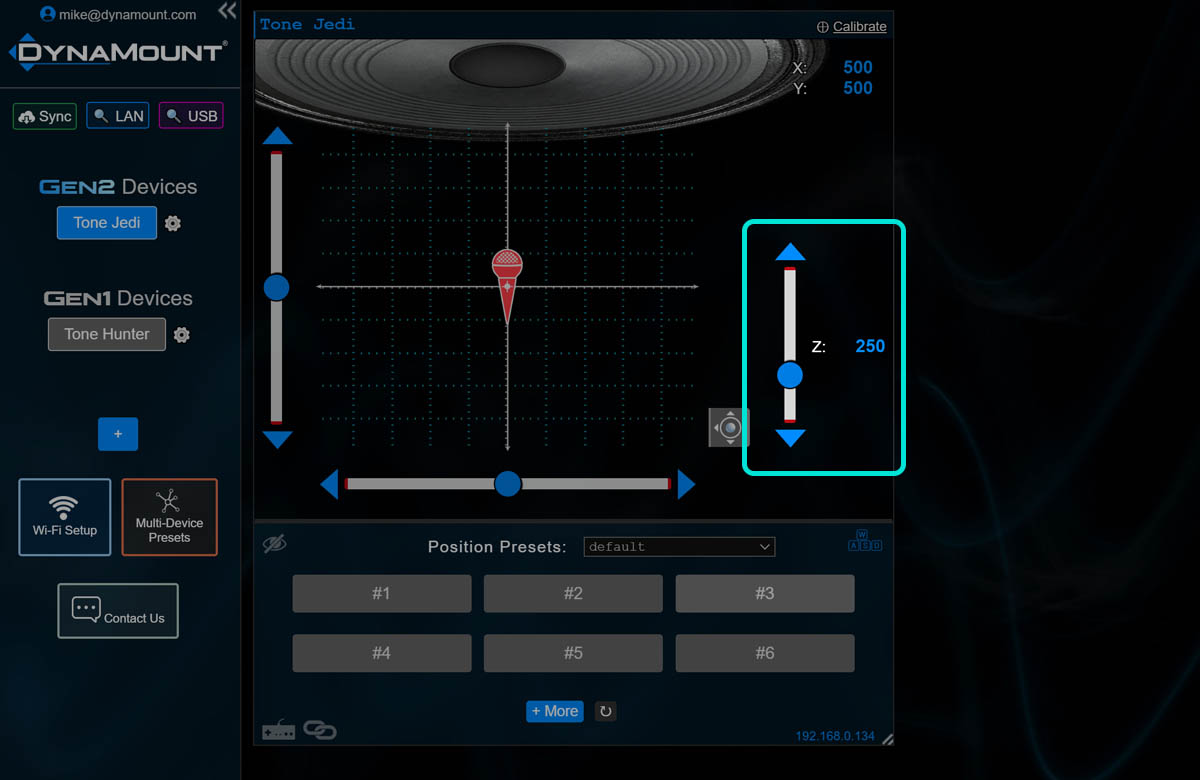
- After calibration completes, when the control screen loads you will see a Z-Axis gauge in place of the standard rotation gauge
- Note: after calibration, the Z-Axis will be at the 250 position (25% height)
- Done, have fun!