For Models: X1-R, X1, V1-R, V1
USB Control
All Gen1 DynaMount models have the ability to be controlled using USB (as an alternative to Wi‑Fi) via our macOS and Windows apps.
There are some advantages to controlling over USB (virtually no latency, no Wi-Fi range/compatibility issues, etc.) but there are also some drawbacks (requires a cable, can’t control from your mobile device, etc.). This guide explains how to control your DynaMount using USB.
- Make sure you have followed the steps in Hardware Setup, Create A Profile, and Adding A DynaMount To Your Profile.
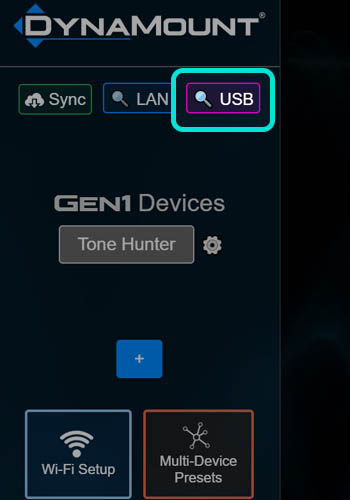
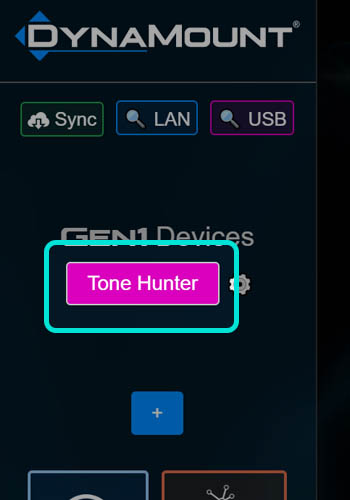
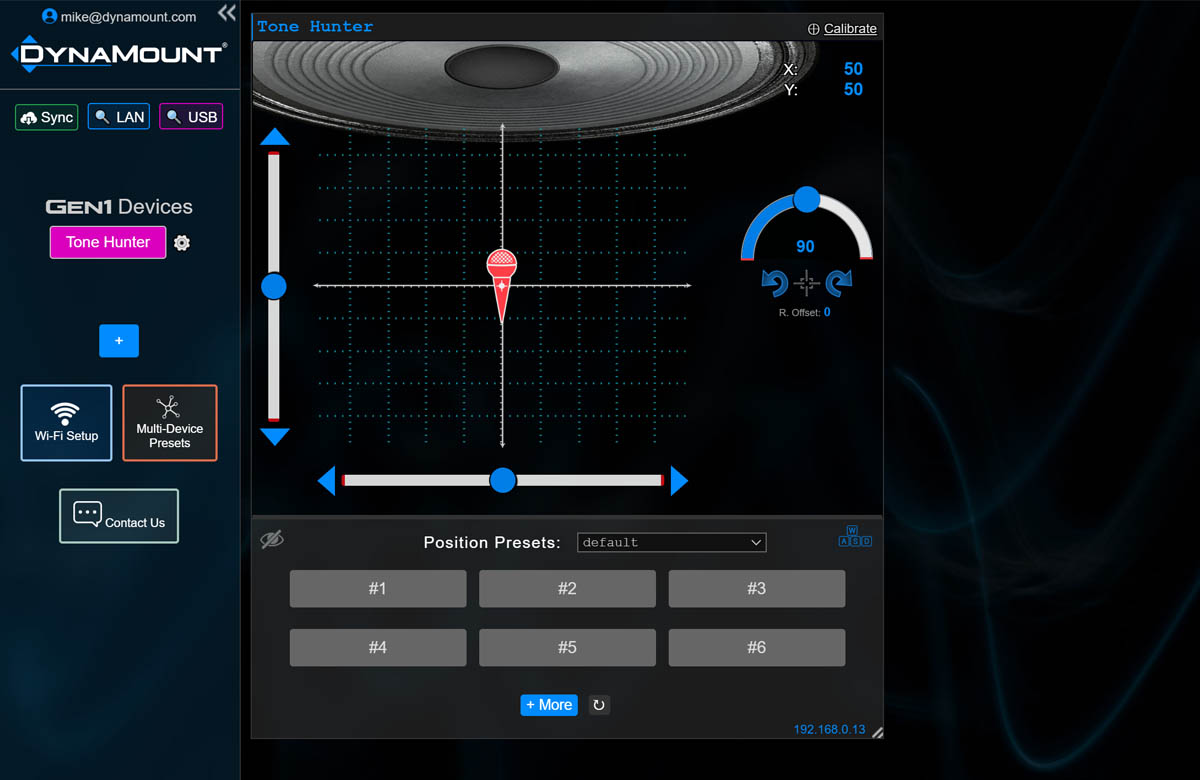
- Log in to your profile using the DynaMount macOS or Windows App (USB control is not available through iOS and Android).
- Your DynaMount should now be powered on using the included 12V DC power adapter.
- WARNING! Do not attempt to power your DynaMount using a USB cable only, it does not provide enough power and could cause damage to the device. Make sure you have the 12V DC power adapter plugged in.
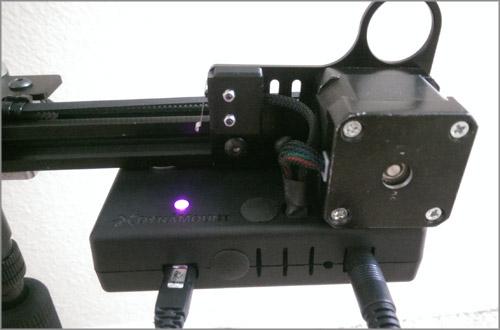
- Once the DynaMount finishes booting up, ensure that the LED on the unit is blinking blue.
- Plug a micro USB cable into your DynaMount.
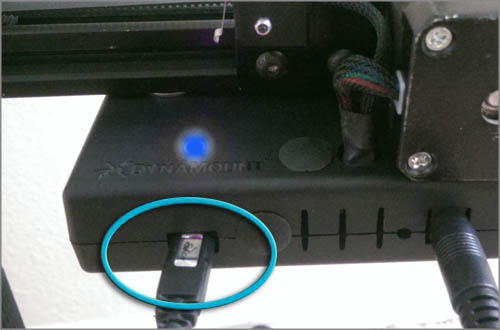
- WARNING! Use caution and avoid bumping or putting pressure on the USB connection when plugged in. It can be broken and USB will become unusable on your DynaMount.
- macOS users can skip ahead to the next step, Windows users need to install device drivers (this only needs to be done once per computer). For Windows 10 users, drivers are usually installed automatically. If drivers are not successfully installed automatically or if you are on an older Windows version, here are the steps to install the drivers manually:
- Download the Windows drivers (DynaMount_Windows_Drivers.zip) HERE.
- Unzip the file. It is fine to unzip this into your Downloads folder.
- Plug the other end of the USB cable into your Windows computer.
- Your computer will automatically check for drivers, but will probably fail.
- Open up your computer’s Device Manager.
- Under “Other Devices” (or possibly “Ports” on Windows 10), right-click on “Photon with WiFi”.
- Select “Update Driver Software”.
- Select “Browse my computer for driver software”.
- Navigate to the unzipped drivers folder you downloaded and unzipped earlier.
- The driver is called “photon.cat”.
- It will prompt to install device software: Particle Ports by Spark Labs, Inc.
- Select “Install”.
- It should say “Windows has successfully updated your driver software” for this device: Photon
- Hit “Close”.
- In the Device Manager you should now see “Photon” under Ports
- If you have a problem installing the drivers, you may have to temporarily disable the digitally signed driver enforcement policy. There are good instructions on that HERE.