For Models:
X2-R, X2-R Micro, V2-R, RIZR, Custom Shop
Ethernet Setup (Gen 2)
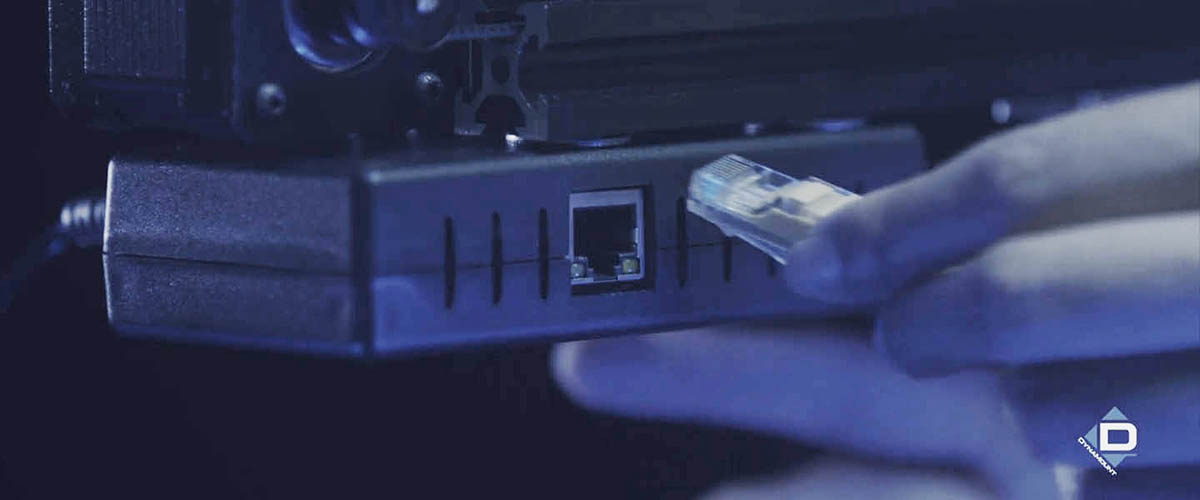
Connect your gen2 DynaMount to your studio/home network via hard-wired Ethernet cable.
While all gen2 models can be controlled wirelessly using Wi-Fi, there are situations where a hard-wired connection is preferred. With a wired Ethernet connection, you don’t need to worry about things like Wi-Fi signal strength or configuring a Wi-Fi password. The Ethernet cable can be up to 100 m (328 ft) long. The X2-R Micro and RIZR models even have Power over Ethernet (PoE) so only a single cable is needed for both power and controls.
After completing these steps, your gen2 DynaMount will be connected to your network via Ethernet.
- With the unit powered OFF, plug in any cat5 or cat6 Ethernet cable between the DynaMount and your network router or Ethernet switch.
- Warning! Only plug/unplug an Ethernet cable from the DynaMount while the power is OFF.
- Note! For a typical setup, the Ethernet cable is connected from the DynaMount to your network router/switch (for control over a network). Do NOT plug the Ethernet cable directly from the DynaMount to your computer.
- If you are using Power over Ethernet (only available on X2-R Micro, RIZR, and some Custom Shop units), you are done! Otherwise, please proceed with the steps below.
- If NOT using PoE, plug in the included 12V power supply to begin booting up the unit.
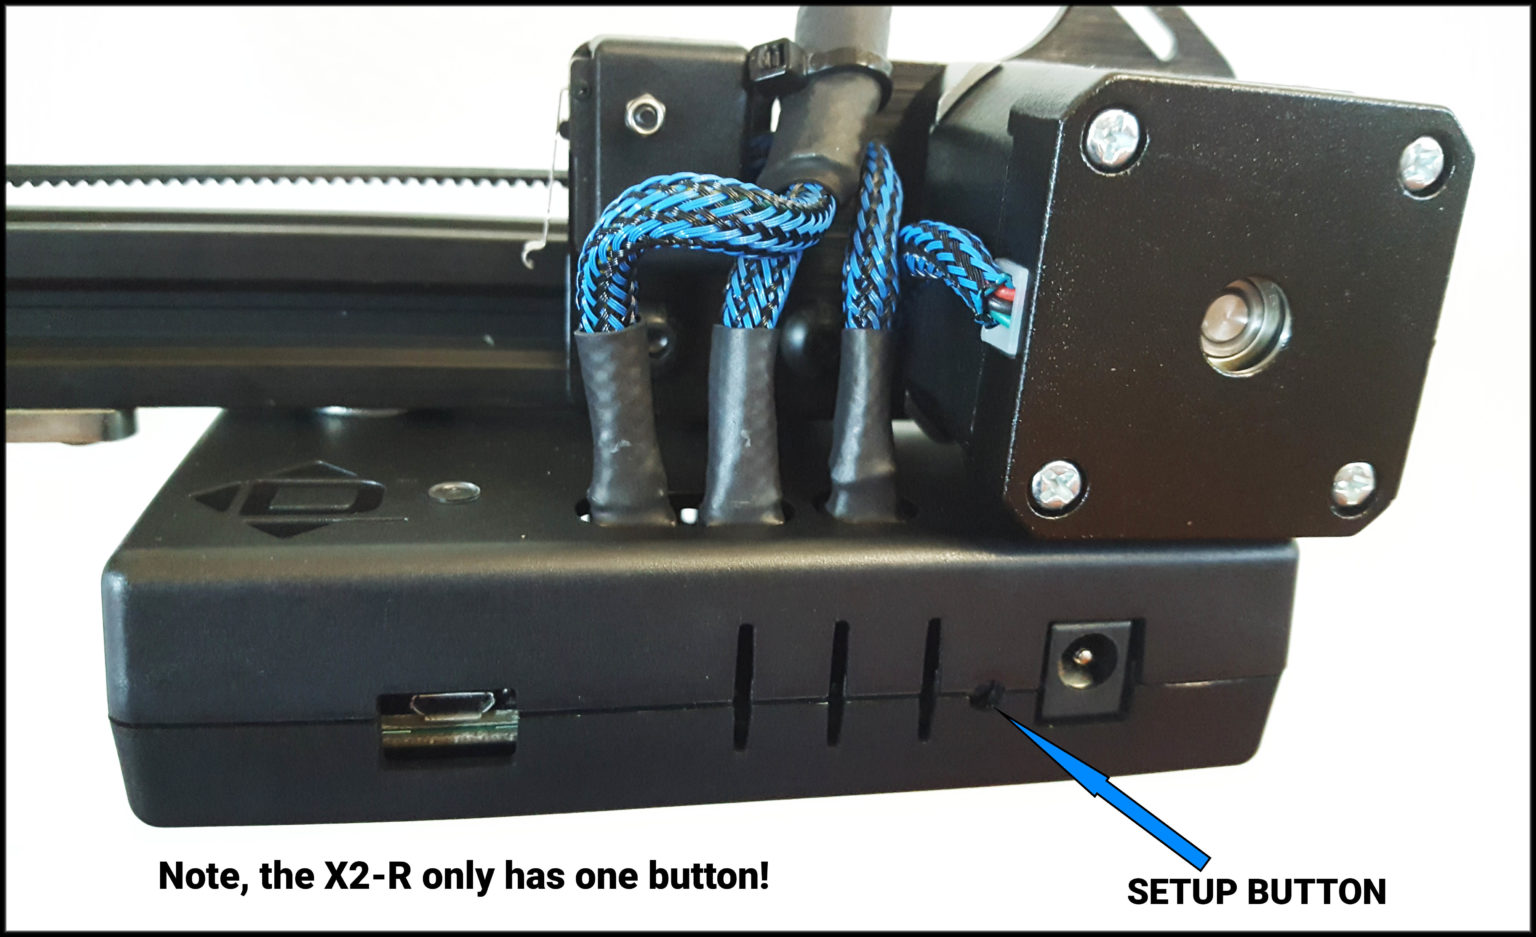
- IMPORTANT! While the unit is still booting up (breathing white LED for the first ~8 seconds), press and hold the SETUP button with a pen/pencil, then release it when the LED turns ORANGE.
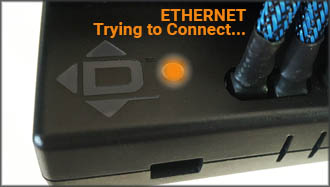
- After you release the button, the LED will stay SOLID ORANGE for a few seconds while attempting to connect to the network.
- The LED will turn SOLID LIGHT BLUE once fully connected.
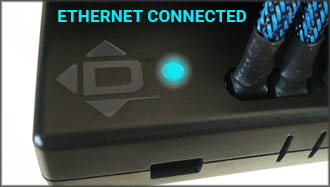
- Your DynaMount is now connected to the network via Ethernet!