For Models:
X2-R, X2-R Micro, V2-R, RIZR, Custom Shop
USB Joysticks
Gen2 DynaMount models have the option of being controlled via a 3rd party USB controller/joystick (plugged into your computer). These controllers are actually a very efficient way of controlling your X2-R!
We plan to add in support for various USB joysticks over time, but for now please enjoy these tips for the retro NES style controllers currently supported.
Note! The USB controller plugs into your laptop/desktop computer and interacts with our app (it is not plugged directly into the DynaMount)
- In our app, when you open a control window for any gen2 unit (by clicking on its name in the Gen2 Devices list), in the bottom left corner is a small joystick icon
- Click the joystick icon to enable/disable the controller
![]()
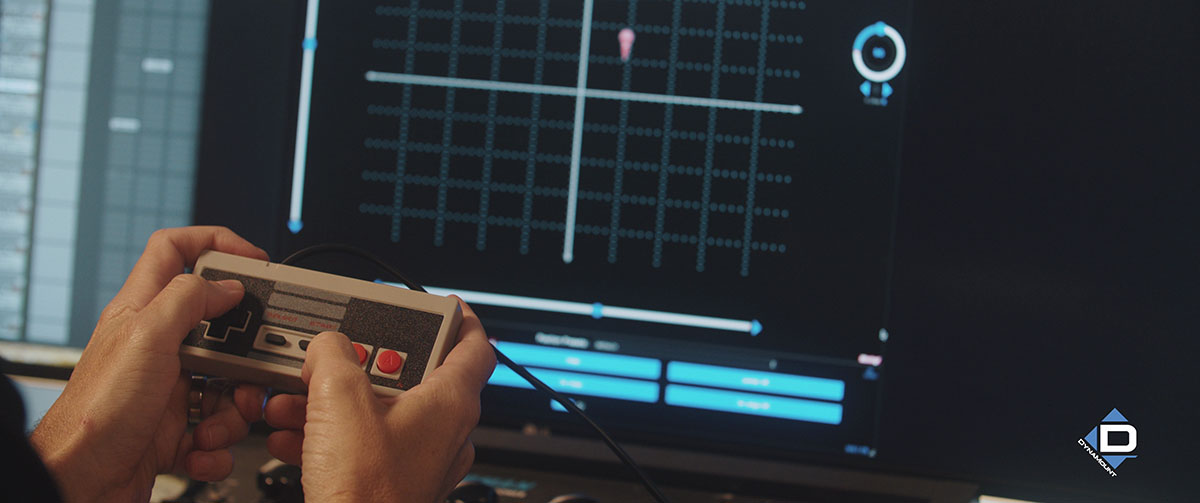
- Use the L/R and U/D arrows on the controller to move the DynaMount as desired
- If you hold down the Select button, you can use the L/R arrows to rotate the mic
- For the A/B buttons, use a short tap to save/call a preset, or a long press to delete a preset
- If you hold down the Select button, you can press the A/B buttons to cycle through which preset is tied to which button (so you can manage more than two presets with just the two buttons)
- If you tap the Start button, it will switch which device is being controlled (if there are multiple open Gen2 control windows)
- The famous Nintendo code will calibrate the device 🙂